Here I have screenshotted the editing process of a particular piece of my film at different stages to show the progression of the image.
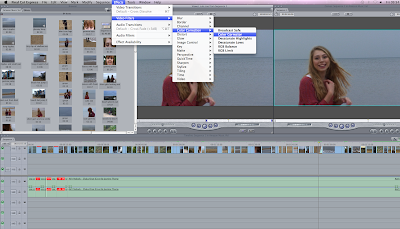
To start with I have used the brightness and contrast tool to try and solve the dark murky problem. The brightness and contrast effect can be found under 'video filters' > 'image control' > 'brightness and contrast'. I only raised the brightness and contrast slightly because if I adjusted the brightness too much I found it reduced the quality, and a high contrast created a shadowy and even murkier image.
 The next step was to adjust the colour correction as shown above. Colour correction is found under 'video filters' > 'colour correction'. The colour correction enabled me to adjust both the radiance and the hue upon the colour wheels and adjust the highlights strength, midtones, shadows and saturation.
Finally- for this piece of editing- I adjusted the RGB balance. The RGB balance (Red Green and Blue) is also found under 'video filters' > 'Colour correction' > 'RGB balance'. This enabled me to adjust the colour on a more detailed level and create warm or cold tones/overlays to adjust the mood of the shot.
 The next piece of editing I started was adding transitions. My feedback from teachers and students suggested I add transitions to help my music video flow more which would suit the sound of the track. It also helps the video to be less jumpy, and can aid the 'journey' aspect of my video.

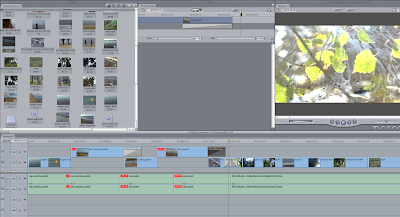
I have tried out all of the different transitions available on a few clips and found the transitions I felt looked most professional and suited my video were the cross dissolve, additive dissolve and non additive dissolve. On this shot with the sunny leaves I have used an additive dissolve as the fade from white makes a good transition into a very light shot. It also helps define the start of the music after the wave shots.
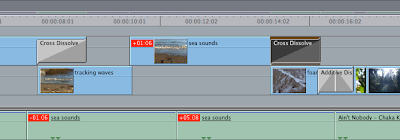
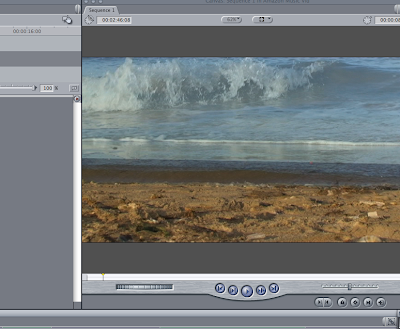
Here you can see an example of a cross dissolve transition. This fades the first clip into the second so that traces of the first are seen whilst the second clip is on screen, in effect they blend together and overlap. This I found was very effective on the wave shots as the transition mimicked the overlapping movement of the waves themselves and could also be used to possibly show time passing.
I did test out a 'fade to colour' transition on one particular clip, as I thought this would be a more effective way of having a screen of black or white as oppose to a additive dissolve or a non additive dissolve. However I found that this tended to look less flowing and seemed to bulky so I decided against using this technique.
Testing out transitions and colour overlays/adjusting filters I have found does take time but is very beneficial in complying to my audiences preferences and perfecting the visuals of my music video.


No comments:
Post a Comment